View All Recipes
Shellfish Recipes
-

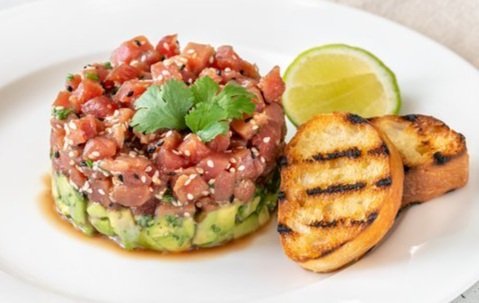
Octopus Salad Recipe - Insalata Di Polpo
This recipe has been a cherished Christmas tradition served as...2 min read -
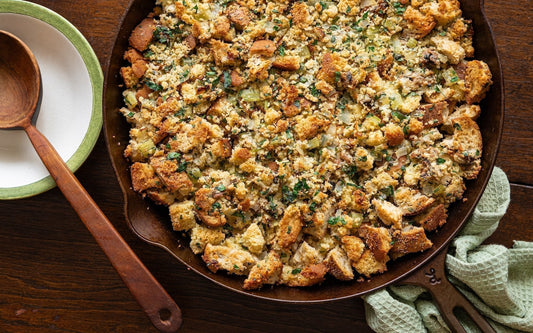
Oyster Meat Dressing - Stuffing Recipe
Elevate your Thanksgiving feast with a unique and savory stuffing...2 min read -
Traditional Chinese Surf Clam Recipe: Guey Fey Bong
Experience the tantalizing flavors of the sea with our exquisite...2 min read -

New England Steamer Clams: How to Prepare and Eat Them Like a Local
There's a quintessential New England experience that's hard to beat...2 min read -
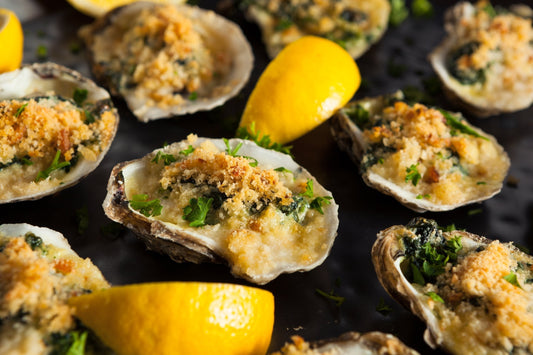
A Taste of New Orleans: Oysters Rockefeller
At Intershell Seafoods, we believe in celebrating the finest flavors...2 min read -

Homemade New England Clam Chowder
Craving a classic taste of New England? With Intershell's New...2 min read -
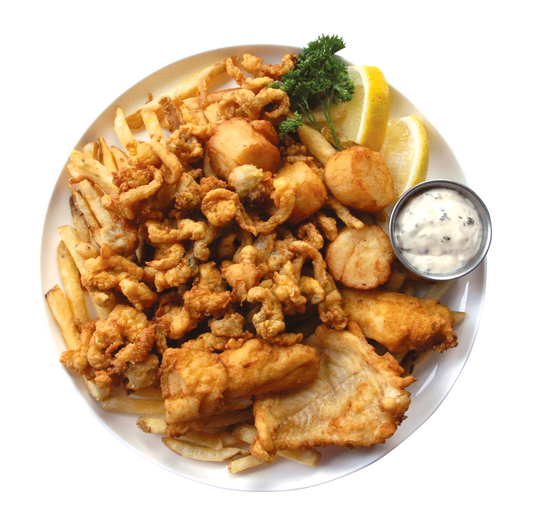
The Best Fried Seafood At Home
There's nothing quite like biting into that perfectly crunchy exterior...4 min read -
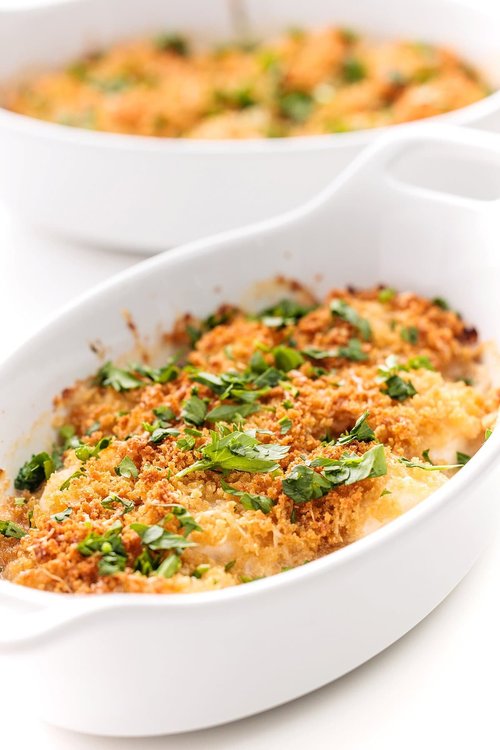
New England Baked Scallop Casserole | Easy Seafood Gratin
A simple and satisfying weeknight dinner, this baked scallop casserole...1 min read


Lobster Recipes
-
Stuffed Lobster Recipe
Dive into a luxurious culinary experience with Intershell's Stuffed Jumbo...2 min read -
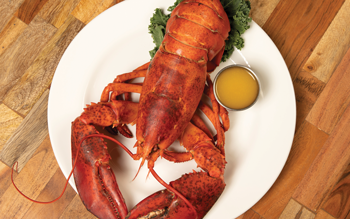
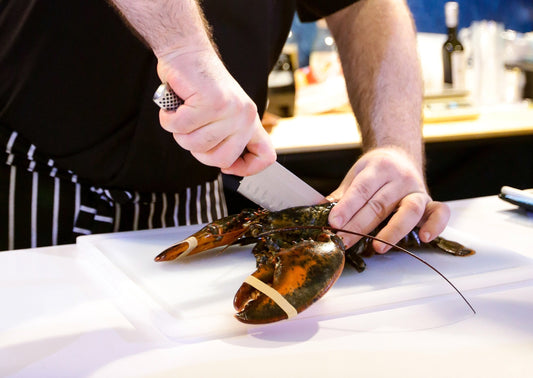
How To: Prepare, Cook, & Eat Lobsters
Cooking a whole lobster can seem intimidating, but with a...2 min read


Fish Recipes
-
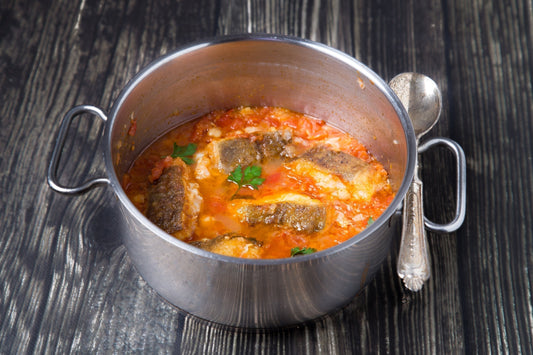
Authentic Baccalà In Umido: Classic Italian Salt Cod and Tomato Stew
Ah, baccalà! Salted cod has been a staple of Mediterranean...2 min read -
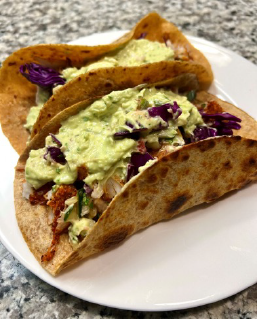
Easy Cajun Fish Tacos for a Flavorful Weeknight Dinner
Ready to shake up your taco night? We're diving into...1 min read -
-
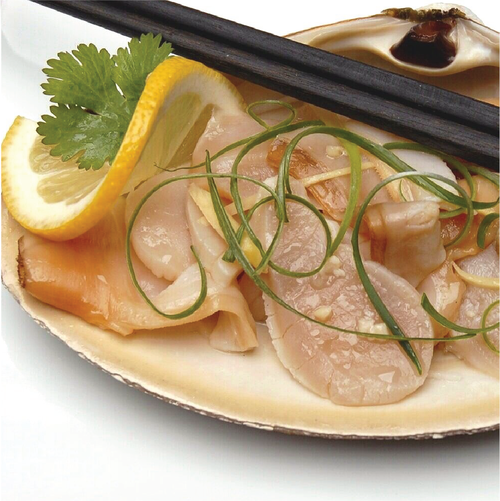
Japanese Style Ankimo (Monkfish Liver)
Gloucester, Massachusetts is renowned for its fresh seafood, and among...1 min read -
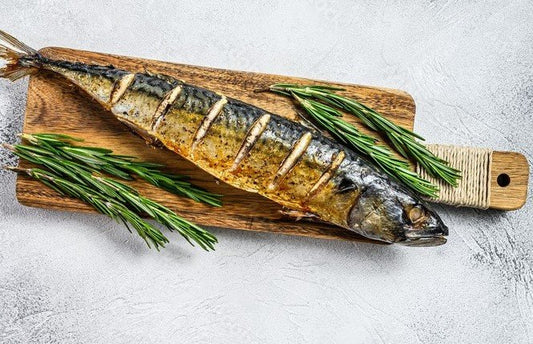
Simple Whole Grilled Mackerel Recipe | Gloucester's Fresh Catch
As the summer sun warms the waters of Cape Ann,...2 min read -
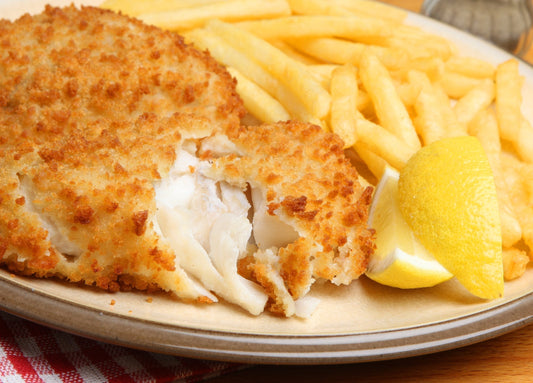
Easy & Healthy Air Fried Fish: 2 Steps
Craving that classic fried fish but want to skip the...1 min read -
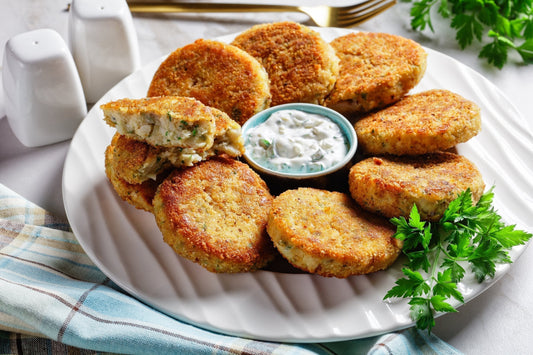
Homemade Fish Cakes: A Beginner's Guide to a Seafood Classic
Dive into the delicious world of homemade fish cakes! This...2 min read -